
Dusting furniture is not the same as cleaning a whole room. The goal is to lift loose dust and light residue from specific materials without scattering particles, scratching finishes, soaking seams, or using polish where it is not needed.
Work gently and match the method to the furniture. Sealed wood, painted pieces, laminate, glass, upholstery, metal, plastic, and electronics-adjacent surfaces all respond differently to cloths, moisture, vacuum attachments, and cleaners.
For general indoor air and particle background, broad references such as trusted home cleaning guidance can help explain where dust comes from. For the actual cleaning method, follow the furniture finish, fabric tag, electronics manual, and product label first.
Quick Answer: The Best Way to Remove Dust From Furniture
Four-Step Method
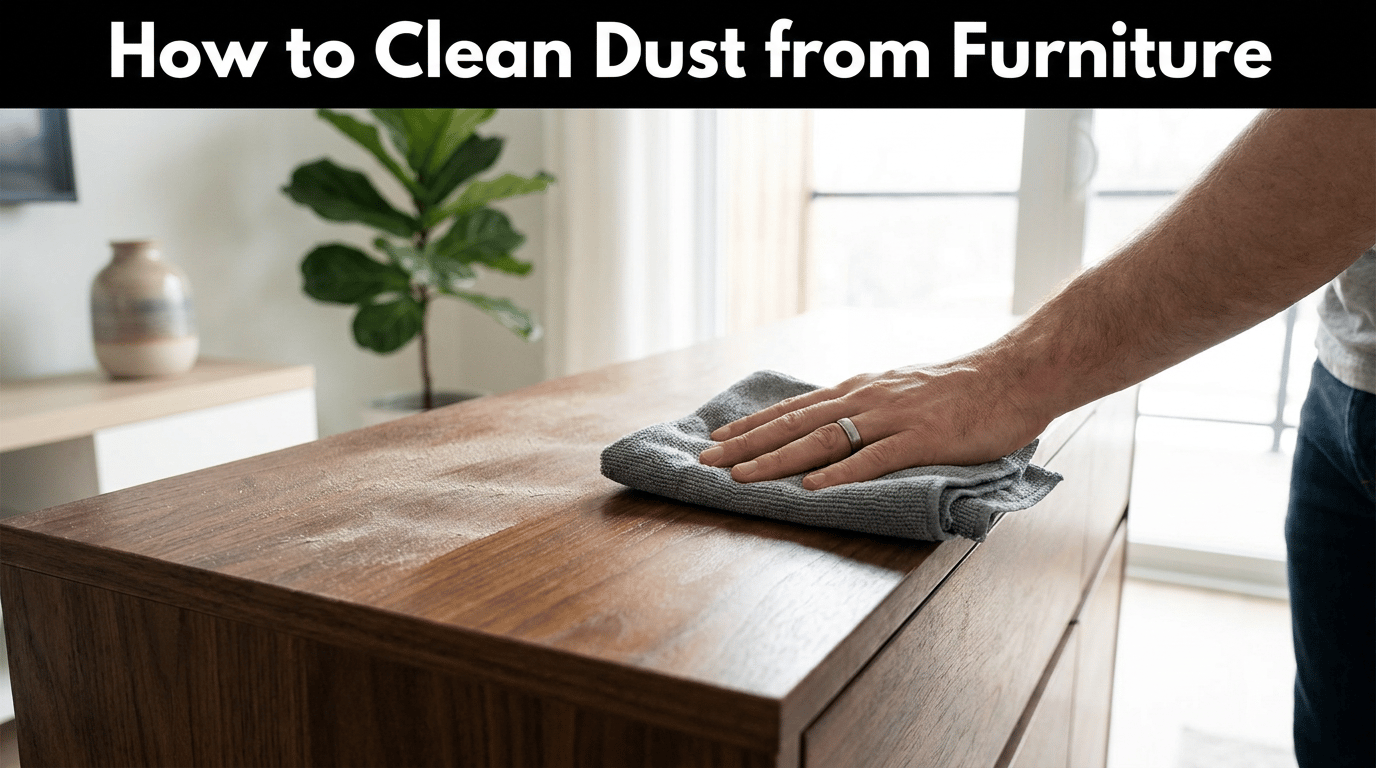
Clear small items, dust from top to bottom, fold and rotate the cloth as it loads with dust, then vacuum crevices, fabric areas, lower shelves, legs, and the nearby floor. This keeps dust moving toward the last surfaces you clean.
The method should feel slow enough to capture dust but not so detailed that it becomes restoration. Work one piece at a time, finish the reachable surfaces, and move on. If a finish reacts poorly, stop instead of adding pressure or product.
Dry, Slightly Damp, or Vacuum?
Use a dry microfiber cloth for light dust on smooth surfaces. Use a slightly damp cloth only when the material and finish allow it. Use a vacuum brush or upholstery attachment for fabric, seams, carved details, and areas where wiping would push dust around.
What to Avoid
Avoid feathering dust into the air, spraying cleaner directly onto furniture, soaking wood or laminate, using abrasive pads, and adding polish as a substitute for dust removal. If the finish is unknown, valuable, antique, or damaged, pause before adding moisture or product.
Why Furniture Gets Dusty
Fibers, Skin Flakes, Outdoor Soil, Household Particles
Furniture collects fibers from clothing and textiles, ordinary household particles, outdoor soil carried inside, paper dust, pet debris, and fine particles from nearby floors and rugs. Flat surfaces show this first because dust settles where air movement slows.
Dust is not a sign that the furniture itself is dirty in a dramatic way. It is usually normal debris settling on horizontal surfaces, edges, and textured materials. The right response is steady capture and surface-aware care, not harsh scrubbing.
Static on Electronics and Synthetic Surfaces
TV stands, media consoles, plastic storage pieces, and synthetic surfaces can collect dust quickly because static and airflow around electronics pull particles toward them. Dust near powered devices should be handled with dry or manufacturer-approved methods.
Static-heavy areas also tend to have cords, vents, remotes, and speaker fabric nearby. Keep dusting tools dry around those areas unless a manual says otherwise, and avoid spraying into the air around electronics.
Upholstery and Textiles That Trap Dust
Upholstery, pillows, throws, and nearby rugs can trap and release dust when people sit, move cushions, or adjust textiles. This article stays focused on furniture dusting; full textile care such as how to clean a living room step by step belongs in a separate task.
Tools That Capture Dust
Clean Microfiber Cloths
Clean microfiber cloths are useful because they hold light dust instead of simply moving it. Fold the cloth into sections and switch sides as each area loads with dust. A dirty cloth can leave streaks and redeposit debris.
Keep several cloths available if you are dusting multiple furniture pieces. Use one cloth for dry dust, another for any slightly damp work, and a fresh one for glass or mirrored areas so oily residue is not transferred.
Vacuum Brush and Upholstery Attachments
A soft brush attachment can lift dust from shelves, carved details, headboards, sofa seams, and fabric panels. Use gentle suction on delicate surfaces and avoid scraping the attachment across finishes.
Check the attachment before it touches furniture. A dirty brush, rough edge, or trapped grit can scratch surfaces. If the attachment has been used on floors, clean it before using it on shelves, upholstery, or finished wood.
Soft Brushes for Details
A soft detail brush can reach grooves, hardware edges, shelf corners, chair rungs, and carved trim. Brush dust toward a cloth or vacuum nozzle so it is captured instead of pushed into the room.
When a Slightly Damp Cloth Fits
A slightly damp cloth can help with fine dust that clings to sealed, washable surfaces, but it should not leave water behind. Use minimal moisture and dry the surface when appropriate. Avoid damp wiping on raw wood, damaged veneer, paper surfaces, and electronics.
Why Too Much Polish Can Attract More Dust
Polish is not a dusting shortcut. Too much polish can leave residue that feels sticky, smears, or attracts more dust. Use polish only when the product, finish, and care instructions call for it.

Step-by-Step Furniture Dusting
Clear Small Items and Protect Delicate Pieces
Remove small decor, books, remotes, lamps, and fragile pieces only as much as needed to reach the surface. Place delicate items somewhere safe. Avoid stacking objects on upholstery or glass where they can scratch, roll, or fall.
When a shelf is crowded, clear one small section at a time. Dust the section, wipe the bottom of dusty objects if needed, and return them before opening the next area. This prevents breakage and keeps the job controlled.
Work Top to Bottom
Start with upper shelves, tall cabinets, frames, headboards, and higher surfaces. Then move to tables, dressers, lower shelves, legs, and the nearby floor. Top-to-bottom order prevents clean lower areas from catching falling dust.
For tall furniture, use a stable tool with reach rather than stretching over fragile items. If you cannot reach safely, leave that area for a planned cleaning session with the right equipment.
Fold and Rotate the Cloth
Fold the cloth into clean sections and rotate before it becomes overloaded. If the cloth looks gray, feels gritty, or leaves streaks, switch sides or get a fresh cloth. This matters more than pressing harder.
Vacuum Crevices and Fabric Areas
Use a vacuum attachment for sofa seams, upholstered panels, carved edges, shelf backs, and areas where wiping is awkward. If pillows or throws need deeper cleaning, keep guides such as bedroom and living room cleaning for their own care session.
Finish Lower Shelves, Legs, and Nearby Floor
Finish with lower shelves, table legs, chair rungs, base shelves, and the floor immediately under or beside the furniture. Dust often drops during the process, so the nearby floor should come last.
How to Dust Furniture by Material
Sealed Wood
For sealed wood, start dry to remove loose dust. If residue remains and the finish allows moisture, use a barely damp cloth and dry promptly. Follow the grain when it is visible and avoid soaking seams, joints, veneer edges, and drawer fronts. For bedroom furniture tops, drawer interiors, hardware, and common residue, see how to clean a nightstand and dresser.
Do not assume shiny wood needs polish every time. Many sealed pieces only need dust removed and a dry finish. If the surface looks dull after dusting, check the furniture care instructions before adding any treatment.
Unsealed, Antique, or Specialty-Finish Wood
For unsealed, antique, waxed, oiled, or specialty-finish wood, avoid guessing. Use a soft dry cloth first and check care guidance before adding water, polish, vinegar, oil, or commercial cleaner. Valuable pieces may need specialist advice.
Painted and Laminate
Painted and laminate furniture usually tolerates gentle dusting, but edges and seams can swell or chip if soaked. Use light pressure, avoid abrasives, and dry any damp area before replacing items.
Painted furniture can show rub marks if scrubbed aggressively. Laminate can hide vulnerable seams along corners and drawer edges. Treat both as washable only when the finish is intact and the care guidance supports moisture.
Glass and Mirrored
Dust glass and mirrored furniture before using glass cleaner. Spray the cloth instead of the furniture when nearby wood, metal, electronics, or seams could catch overspray. Buff with a dry cloth to reduce streaks.
Upholstered
For upholstered furniture, vacuum dust and crumbs with an upholstery tool when the fabric allows it. Avoid wet cleaning unless the care code or manufacturer instructions support the method. This is dust removal, not stain treatment or upholstery extraction. When an upholstered chair needs spot treatment beyond dry dust removal, use the guide to clean upholstered chairs.
Work seams, cushion fronts, arm tops, and the areas where people sit most often. If the upholstery pills, snags, or changes texture under the tool, reduce pressure or stop. Dusting should not roughen the fabric.
Metal and Plastic
Metal and plastic furniture can show dust, fingerprints, and static. Use a soft cloth first, then a surface-safe cleaner only if needed. Dry around joints, screws, and coated areas to prevent spotting or residue.
Furniture Near Electronics
For TV stands, media consoles, desks, speaker stands, and charging areas, keep moisture away from ports, vents, power strips, and cords. Broader room guides such as trusted cleaning guidance can help with room order, but electronics-adjacent dusting needs extra product control.
Move loose cords gently instead of pulling them tight. Dust around devices without blocking vents, and let electronics cool if a manual recommends it before cleaning nearby surfaces.
Detailed and Hidden Areas
Carved Details and Hardware
Use a soft brush, dry cloth edge, or vacuum brush for carved details, drawer pulls, hinges, knobs, and trim. Do not scrub decorative finishes aggressively. If hardware is loose or corroded, stop before pulling or soaking it. When dust extends behind seating, consoles, rugs, and other blocked zones, continue with a full living-room deep clean.
Shelf Backs and Undersides
Shelf backs and undersides collect dust that is easy to miss. Reach only what is accessible without unsafe bending or heavy moving. A routine pass should not require emptying every shelf or dismantling furniture.
Use a brush or vacuum attachment for the back edge when books, bins, or decor make wiping awkward. If reaching the underside requires tipping furniture, leave it for a safer planned session.
Drawer Fronts and Handles
Dust drawer fronts, handles, and the upper edges where fingers and airborne dust collect. Use minimal moisture around pulls, seams, and unfinished edges. Dry before closing drawers against damp surfaces.
Legs and Baseboards Nearby
Furniture legs, lower rails, and nearby baseboards often hold settled dust. Clean them near the end, then vacuum or sweep the nearby floor. This keeps the final debris from returning to the furniture.

Reduce Fast Dust Return
Clean Cloths Between Jobs
Wash reusable cloths between dusting jobs so they do not carry residue from one surface to another. Store dry cloths separately from product-soaked cloths and replace cloths that feel rough or coated.
Reduce Horizontal-Surface Clutter
Fewer items on tabletops, shelves, and dressers means fewer edges to dust around. This is not a full organizing system; it is a simple way to make future dust removal faster and less likely to scatter particles.
Keep everyday items grouped on trays or in small zones when that fits the furniture. The fewer individual objects you lift, the less dust gets pushed around during the next routine pass.
Vacuum Nearby Textiles and Floors
Dust returns faster when nearby textiles and floors hold loose debris. Vacuum accessible upholstery, open floor areas, and nearby rugs when those surfaces are part of the room, but leave full rug washing for another task.
Address Airflow Without Health Claims
Air movement can stir or settle dust depending on the room. Avoid aiming strong airflow directly at dusty shelves, and replace HVAC filters according to the system or manufacturer guidance. Do not promise health outcomes from dusting furniture.
If a fan or vent blows directly across dusty furniture, clean the furniture first and then check whether airflow is pushing debris back onto the surface. Keep the advice practical: reduce visible dust return, not guarantee indoor air results.
Dusting Mistakes
Dirty/Overloaded Cloth
A dirty cloth spreads dust and residue. Fold to a clean side or change cloths before the surface starts to streak.
Aggressive Dry Wiping of Thick Dust
Thick dust can scratch delicate finishes if rubbed hard while dry. Lift it gently with a microfiber cloth, vacuum brush, or slightly damp cloth only when the material allows moisture.
Direct Spraying
Direct spray can run into seams, electronics, unfinished edges, and upholstery. Apply product to the cloth when a cleaner is needed and allowed.
Too Much Water
Too much water can swell wood, damage veneer, soften finishes, spot metal, and affect laminate seams. Use the least moisture needed and dry promptly.
Unnecessary Polish
Polish can build up or attract dust when used too often or on the wrong finish. Dust first, then use polish only when instructions support it.
Forgotten Crevices
Crevices, shelf backs, drawer lips, trim, legs, and hardware collect dust even when tabletops look clean. Include a few detail areas each routine so buildup does not become a larger job.
Choose a manageable number of details each time. For example, handle table legs this week and shelf backs next time. Rotating details keeps furniture cleaner without turning every dusting session into deep cleaning.

When to Stop
Flaking Finish, Veneer Damage, Water Rings
Stop if the finish flakes, veneer lifts, water rings appear, or the surface changes color or texture. More rubbing or more product can make damage worse.
Valuable or Antique Furniture
Valuable, antique, lacquered, shellacked, hand-painted, or unfamiliar furniture may need conservation-minded care. Avoid water, solvents, oils, and polish until you know what the finish can tolerate.
Mold, Pest Debris, or Contamination
Visible growth, pest debris, body fluids, or other contamination is not ordinary dust. Limit contact, avoid spreading material, and look for appropriate guidance before continuing.
Electronics or Powered Components
Stop before dusting inside powered components, vents, speakers, or devices unless the manual gives clear instructions. Unplug only when safe and appropriate, and keep liquids away from electrical parts.
If dust is inside a device, behind a fixed panel, or near exposed wiring, do not improvise with liquid, metal tools, or compressed air unless the manufacturer instructions specifically allow it.
Frequently Asked Questions
Best Way to Dust Furniture?
Clear small items, dust from top to bottom, fold the cloth as it loads with dust, vacuum crevices and fabric areas, then finish lower shelves, legs, and the nearby floor.
Is Microfiber Better?
Clean microfiber is often useful because it holds light dust well. It is not the only option, but dirty or overloaded microfiber can still smear dust, so cloth management matters.
Wet or Dry Cloth?
Start dry for loose dust. Use a slightly damp cloth only on surfaces that allow moisture, and dry promptly. Avoid moisture on electronics, raw wood, damaged finishes, and unknown materials.
Dust Wood Without Damage?
Use a soft cloth, light pressure, and minimal moisture only when the wood is sealed and instructions allow it. Avoid soaking seams, scrubbing abrasively, or adding polish before dust is removed.
Why Does Dust Return Quickly?
Dust returns quickly when nearby textiles, floors, airflow, and crowded horizontal surfaces keep releasing particles. Reducing clutter and cleaning nearby fabric or floor areas can slow visible buildup without promising a dust-free room.
How Often to Dust?
Dust when surfaces look or feel dusty, and adjust for pets, open windows, room use, nearby textiles, and the sensitivity of the finish. Avoid universal promises about exact frequency.
Can Polish Replace Dusting?
No. Polish does not replace dust removal. Dust first, then use polish only when the furniture finish and product directions support it.

Final Thoughts
The best way to clean dust from furniture is to capture it gently, work from high to low, and match the method to the material. Dry microfiber, vacuum attachments, soft brushes, and careful damp wiping all have a place when used on the right surface.
Stop when a finish is damaged, a material is valuable or unknown, contamination is present, or electronics are involved in a way the manual does not cover. Dust removal should protect furniture, not turn routine care into restoration or repair.

Ethan Carter is the Founder & Editor of HomeCleanSecrets. Based in the United States, he has 5 years of experience creating practical home cleaning, laundry care, stain removal, decluttering, and home organization content. His goal is to help everyday households clean smarter and build simple routines that are easier to maintain.
Read more about Ethan Carter on his author page: https://homecleansecrets.com/ethan-carter/