
Hardwood floors add warmth and value to a home, but they require careful cleaning to keep the finish intact and the boards stable. This guide focuses on low-moisture cleaning and finish protection so you can remove dirt and sticky spots without dulling, scratching, or causing water damage. Follow these step-by-step methods, preventive tips, and common-sense warnings to keep wood floors looking their best for years.
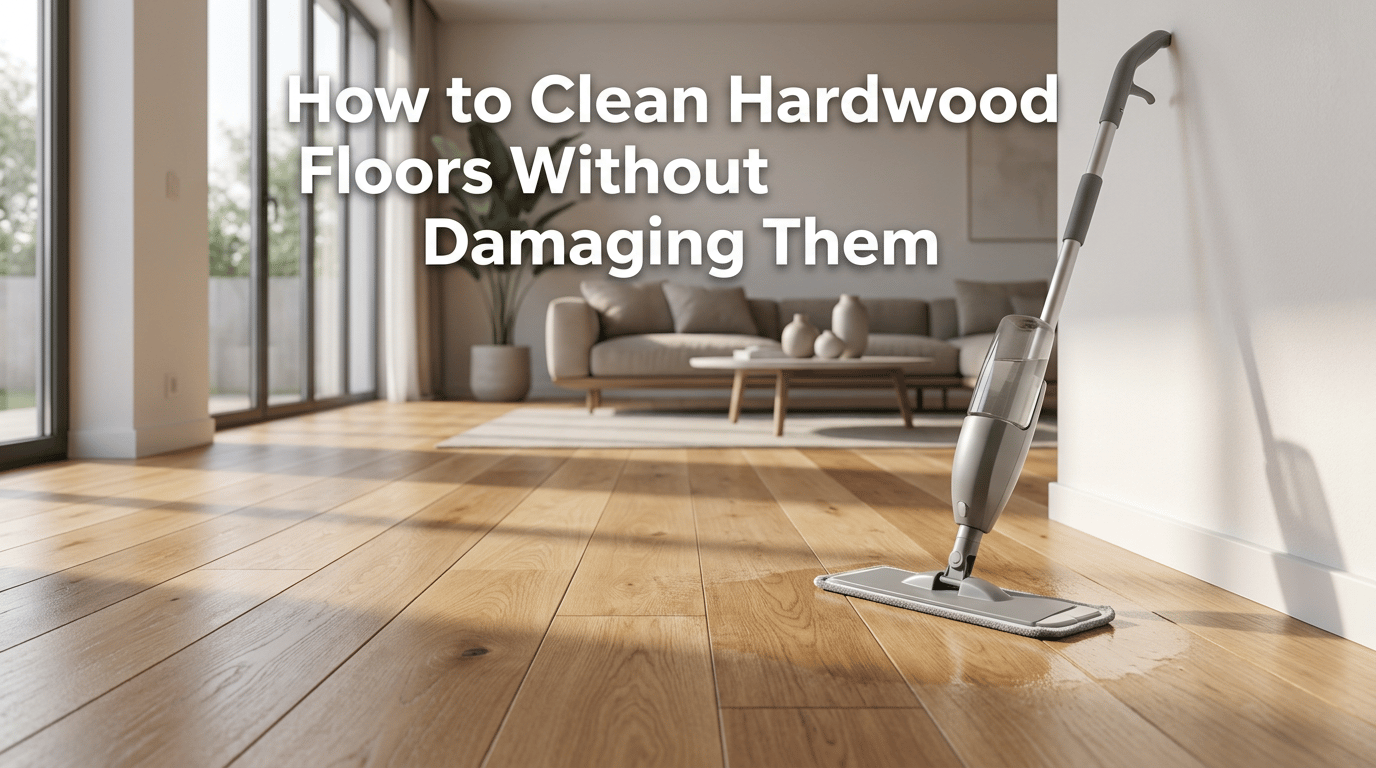
Quick answer
Remove loose grit first, then clean with a gentle, low-moisture method using a pH-neutral cleaner or plain water on a barely damp microfiber mop, dry each area promptly, and protect the finish with routine maintenance. Avoid saturating the boards, aggressive scrubbing, or heated steam that can lift finishes or warp wood.
For a related walkthrough, see our guide to how to clean stainless steel.
For a related walkthrough, see our guide to how to clean cast iron skillet.
For a related walkthrough, see our guide to how to clean humidifier.
For a related walkthrough, see our guide to how to clean dryer vent.
First steps
- Sweep or vacuum to pick up dirt, grit, and pet hair before mopping.
- Confirm whether your floor is sealed, unsealed, or engineered to determine how much moisture and which cleaners are safe to use.
- Spot-test cleaners on an inconspicuous area to make sure they do not affect color or finish.
- Open windows or turn on fans so damp areas dry faster.
What to avoid
- Do not flood the floor; standing water can seep into seams, lift boards, and damage subfloors.
- Avoid harsh, abrasive cleaners or scrubbers that can scratch or strip finishes.
- Avoid steam mops on finished wood; heat and moisture can cause finishes to cloud or boards to swell.
- Avoid ammonia or highly alkaline products that can dull or degrade some finishes over time.
Why hardwood floors need gentle cleaning
Hardwood is a natural material with a finish applied to protect the surface. Gentle cleaning preserves both the wood and the finish so floors remain stable and attractive.
Too much water can damage wood
Wood absorbs moisture, which can cause cupping, warping, or staining. Even sealed floors can be vulnerable where seams, scratches, or worn finish allow water to reach the wood. Use minimal liquid and dry quickly to avoid moisture-related problems.
Harsh cleaners can dull the finish
Certain chemical cleaners remove oils and protective layers that give the floor its sheen. Repeated use of strong products can make a finish look cloudy or feel rough. Choose mild, pH-neutral formulas or cleaners specifically labeled for wood floors and follow manufacturer guidance.
Dirt can scratch the surface
Small particles of sand, grit, and dust act like sandpaper underfoot. If they are not removed first, mopping or walking on them can produce fine scratches. Regular dust removal is the most effective way to prevent surface abrasion.
Know your hardwood floor finish first
Understanding the finish on your floor determines how much moisture and what cleaning methods are safe. If you do not know the finish, follow the gentlest approach and check with the floor installer or manufacturer when possible.
Sealed hardwood
Sealed hardwood has a protective layer such as polyurethane, aluminum oxide, or acrylic. These finishes resist stains and water better than unfinished wood and are the most forgiving for routine cleaning. Use low-moisture methods and cleaners approved for sealed floors. Avoid products that leave a waxy residue unless that is your intended treatment.
Unsealed hardwood
Unsealed or unfinished wood is porous and should receive the least moisture. Dry cleaning, careful spot cleaning with a barely damp cloth, and professional finishing are the safest options. If you have unsealed floors, limit liquid exposure and consult a professional for deep cleaning or refinishing needs.
Engineered hardwood
Engineered hardwood combines a real wood veneer over layered plywood or composite. It is generally more dimensionally stable than solid wood and tolerates modest moisture better, but the thin real wood layer still requires gentle handling. Use the same low-moisture, finish-safe methods as for sealed solid hardwood.
Step 1: Remove dust and grit
Begin every cleaning session by removing loose material. This step prevents abrasion during mopping and extends the life of the finish.
Sweep with a soft broom
Use a soft-bristle or flagged broom to push dirt into a dustpan. Sweep along the grain where practical to lift fine dust. For quick daily upkeep, this method works well and avoids introducing moisture.
Vacuum with the right attachment
Vacuum using a hard-floor setting or a soft-brush attachment to lift dust and grit without scratching. Do not use vacuums with a beater bar or rotating brush unless it has a dedicated hard-floor mode that disables the brush. Go slowly along baseboards, under furniture edges, and in corners where dust accumulates.
Focus on high-traffic areas
Entryways, hallways, pet areas, and spaces under dining chairs collect the most soil. Clean these zones more often and consider placing rugs or mats to trap grit before it reaches the floor. Remove and shake rugs outside rather than vacuuming them over the hardwood when possible.
Step 2: Mop with minimal moisture
Move to low-moisture mopping only after loose debris is removed. The goal is to lift dirt and light spills without saturating the wood.
Use a damp mop, not a wet mop
- Use a microfiber flat mop or a well-wrung cotton mop head that holds minimal water.
- Fill a bucket with warm water plus a few drops of a pH-neutral hardwood cleaner, or use plain water if the floor finish manufacturer recommends it.
- Dip the mop, then wring or squeeze it thoroughly so it is just slightly damp. The mop should not drip water.
- When using a spray-and-mop system, apply cleaner lightly and mop immediately; do not spray heavily and leave liquid sitting on the wood.
For guidance on safer cleaning product selection, see the EPA’s Safer Choice program for information about products and ingredients that meet criteria for reduced hazard.
Work in small sections
Mop one small area at a time so you can dry it quickly. Overlap slightly to ensure full coverage, and change or rinse the mop pad when it becomes dirty to avoid redistributing soil. Small sections dry faster and reduce the risk of moisture seeping into seams or between boards.
Avoid leaving standing water
If you see pooling liquid, blot it immediately with an absorbent microfiber cloth. Standing water can penetrate seams, discolor the wood, and encourage cupping. If a spill has soaked into the joints or boards, dry the area with fans and, if necessary, use a dehumidifier to speed moisture removal. For large water exposure events such as leaks or floods, consult a professional to assess structural and mold risks.

Step 3: Dry the floor
Drying is just as important as cleaning. The finish protects the wood, but leftover moisture can still cause problems if not removed promptly.
Why drying matters
Immediate drying prevents moisture from penetrating seams or scratches and reduces the chance of finish clouding. Quick drying also shortens the time residue remains on the surface.
Use a clean microfiber cloth
After mopping a small section, follow with a dry microfiber cloth or a dry microfiber mop pad to remove residual moisture. Microfiber is absorbent and generally leaves fewer fibers than cotton. Replace or launder cloths as they become soiled to avoid streaking.
Check corners and edges
Corners, baseboards, and areas under toe-kicks often trap moisture. Inspect these spots after cleaning and use a folded microfiber cloth to dry them thoroughly. Pay special attention to thresholds and transitions that can hide excess dampness.
Step 4: Spot-clean sticky areas
For spills and sticky spots, targeted cleaning prevents the need for heavy-handed scrubbing across the whole floor.
How to handle spills
- Blot liquids immediately with an absorbent cloth and wipe from the outer edge toward the center to avoid spreading.
- For sticky substances, moisten a microfiber cloth slightly with plain water or a manufacturer-approved cleaner and gently lift the material. Use minimal moisture and dry the area after cleaning.
- If a spill has penetrated a scratch or seam and discolors the wood, consult a flooring professional for repair options.
How to remove scuff marks
Light scuffs from shoes or furniture can often be removed with a soft eraser pad or a microfiber cloth and a small amount of cleaner. Rub gently in a circular motion. For more persistent marks, a non-abrasive cleaner designed for finished wood applied sparingly usually works. Avoid aggressive scrubbing pads that can remove or dull the finish.
What to do with stubborn residue
Sticky residues like adhesive or wax buildup should be softened rather than scraped. Apply a small amount of manufacturer-approved cleaner or a damp cloth to loosen residue, then gently lift it away. If residue remains after repeated gentle attempts, seek advice from a flooring professional to avoid damaging the finish.
Step 5: Protect the floor after cleaning
Cleaning prevents dirt buildup, but proactive protection reduces wear and prolongs the finish.
Use mats near entrances
- Place doormats outside and inside entry doors to trap grit and moisture before it reaches the wood surface.
- Choose mats without rubber or vinyl backing that can trap moisture and react with some finishes. Use breathable or woven-backed mats designed for hardwood floors.
- Empty and clean mats regularly so they do not become a source of tracked-in dirt.
Add felt pads to furniture
Attach felt pads to furniture legs and replace them when worn. Check pads for grit accumulation and clean them periodically. Lift furniture instead of dragging it to prevent scratches.
Clean spills quickly
Attend to spills as they happen to prevent staining and reduce the need for stronger cleaners that may affect the finish. For large or repeated spills, consider protective area rugs in risk-prone zones like dining areas or under pet feeding stations.
Hardwood floor cleaning mistakes to avoid
Avoiding common missteps protects your floor’s finish and structure. Review this list before you choose products or tools.
Using too much water
Excessive moisture is the most common mistake. Mop with a well-wrung pad, and always dry promptly. For routine cleaning, less water combined with frequent dusting is safer than infrequent heavy wet cleaning.
Using steam mops
Steam cleaners use heat and moisture that can lift finishes, swell engineered layers, or cause cupping in solid wood. Check the floor manufacturer’s guidance before using steam and avoid steam on finished wood unless explicitly allowed.
Using abrasive scrubbers
Steel wool, scouring pads, and harsh brushes can remove the finish and scratch the wood. Use soft microfiber or non-abrasive pads and gentle cleaning solutions.
Ignoring manufacturer instructions
Flooring manufacturers and finish makers provide guidance tailored to specific products. Ignoring their instructions can void warranties or cause irreversible damage. When in doubt, follow the manufacturer’s care recommendations or consult a qualified floor care professional.
Hardwood floor maintenance checklist
Consistent small tasks keep floors clean and reduce the need for intensive cleaning. Use this checklist as a routine care plan.
Daily tasks
- Sweep or dust with a microfiber mop to remove grit.
- Wipe visible spills immediately with a soft cloth.
- Keep pet nails trimmed to reduce scratching.
Weekly cleaning
- Vacuum with a hard-floor setting or soft-brush attachment to remove settled dust.
- Mop with a barely damp microfiber mop and a gentle cleaner as needed in high-traffic rooms.
- Inspect felt pads on furniture and replace as necessary.
Seasonal care
- Check for and address gaps or cupping that can appear with humidity changes; control indoor humidity where practical to reduce seasonal movement.
- Consider a professional inspection if you notice persistent wear, deep scratches, or finish failure.
- Rotate rugs and furniture periodically to ensure even wear patterns.
Frequently asked questions
What is the best way to clean hardwood floors?
Remove loose debris first, then mop with minimal moisture using a microfiber mop and a pH-neutral or manufacturer-approved cleaner. Dry immediately with a clean microfiber cloth. Regular spot-cleaning and preventative measures reduce the need for heavy cleaning.
Can you mop hardwood floors with water?
Yes, but use only a small amount of water. A well-wrung mop or spray-and-mop system that applies a light mist is appropriate. Avoid puddles or standing water and always dry the area right away. When in doubt, follow the flooring manufacturer’s recommendation for water use.
Is vinegar safe for hardwood floors?
Vinegar is acidic and can dull or etch some finishes when used straight or in strong concentrations. If you choose a vinegar solution, dilute it heavily and test in an inconspicuous area first, or use a cleaner specifically labeled safe for hardwood.
How often should I clean hardwood floors?
Daily dusting or sweeping is recommended in occupied homes, with weekly low-moisture mopping for most household traffic levels. Increase frequency in high-traffic areas or homes with pets. Deep cleaning or refinishing is needed only when the finish shows wear or damage.
How do I make hardwood floors shine?
Shine is primarily a property of the floor finish. Keep the surface clean and free of residue, and avoid waxes that are incompatible with your finish. If the finish is worn and you want more gloss, consult a flooring professional about recoating or refinishing options rather than using products that temporarily mask dullness and may build up over time.
Final thoughts
Protecting hardwood floors is about combining gentle cleaning with preventive care. Prioritize removing grit, use low-moisture cleaning methods, dry promptly, and take steps to prevent wear. When cleaning product safety or heavy contamination is a concern, consult trusted guidance from public health authorities on household cleaning and disinfecting to ensure safe use of chemicals and proper ventilation.
CDC guidance on cleaning and disinfecting
If you encounter significant water exposure, persistent staining, deep finish failure, or mold growth, seek professional assessment and repair rather than attempting aggressive do-it-yourself methods that could worsen the problem. With the right routine and care, hardwood floors can remain beautiful and durable for decades.

Ethan Carter is the Founder & Editor of HomeCleanSecrets. Based in the United States, he has 5 years of experience creating practical home cleaning, laundry care, stain removal, decluttering, and home organization content. His goal is to help everyday households clean smarter and build simple routines that are easier to maintain.
Read more about Ethan Carter on his author page: https://homecleansecrets.com/ethan-carter/